
Custom Kitchen Cabinets in St. Augustine: Is Built-to-Order Right for Your Kitchen?

Decide If Your Kitchen Needs Built-to-Order Cabinets
Custom kitchen cabinet construction means each cabinet is built to your room’s actual measurements instead of picked from a catalog. Stock cabinets come in set widths, usually in 3-inch steps. When a wall doesn’t divide evenly into those steps, installers fill the leftover space with filler strips. A few small fillers are normal. But when they start adding up, you’re paying for cabinets and getting blank panels.
So the real choice isn’t fancy versus plain. It’s whether your kitchen fits the standard sizes or fights them.
Built-to-order cabinets are usually worth it when you notice things like these:
- Your walls aren’t square or your floor isn’t level, so stock boxes would leave uneven gaps along the edges.
- You’ve got an odd corner, a sloped ceiling, a soffit, or a window that sits in an awkward spot.
- You want cabinets that run all the way to a tall ceiling instead of stopping short and collecting dust on top.
- You need storage for something specific, like a deep pantry pull-out, a tray divider by the oven, or a spot for a mixer that lifts to counter height.
- Someone in your home needs counters or uppers at a different height than the standard.
- You’re planning a new layout or adding an island, and you want the cabinets designed around how you cook.
Here in St. Augustine, there’s one more thing to weigh. Our coastal air stays humid much of the year, and that moisture works on cabinet materials over time. When cabinets are built to order, you get a say in the box material, the finish, and how the sink base is put together. With stock lines, you take what the factory picked.
Now for the honest part. You may not need custom cabinets at all.
- If your kitchen is a plain rectangle with standard ceiling height, stock cabinets often fit with only a filler or two.
- If you mostly want more choices in door styles and finishes but your layout is simple, semi-custom lines offer more sizes and options without a full custom build.
- If your current boxes are solid and you just dislike how they look, new doors and paint or a refinish can change the whole room for far less.
- If you’re selling soon and the kitchen works, a big cabinet project rarely makes sense.
A quick way to test it: stand in your kitchen and look at what bugs you. If it’s the color or the hardware, that’s a surface fix. If it’s the corner you can’t reach, the gap above the fridge, or the drawer that’s never deep enough, those are size and layout problems. Those are what built-to-order cabinets are made to solve.
Know When Semi-Custom or Refacing Makes More Sense
Semi-custom and refacing aren’t lesser choices. They’re the right tools when your problem is smaller than a full rebuild. The key is knowing which problem you have.
Semi-custom cabinets start from a factory line, but you can change some sizes. Many lines let you adjust depth, add height, or pick from more widths than stock. You also get more door styles, finishes, and inserts like roll-out trays. If your walls only need a small tweak to fit well, semi-custom often gets you there. It falls short when you need a shape the factory doesn’t make, like a cabinet that follows a sloped ceiling or tucks around an odd chase wall.
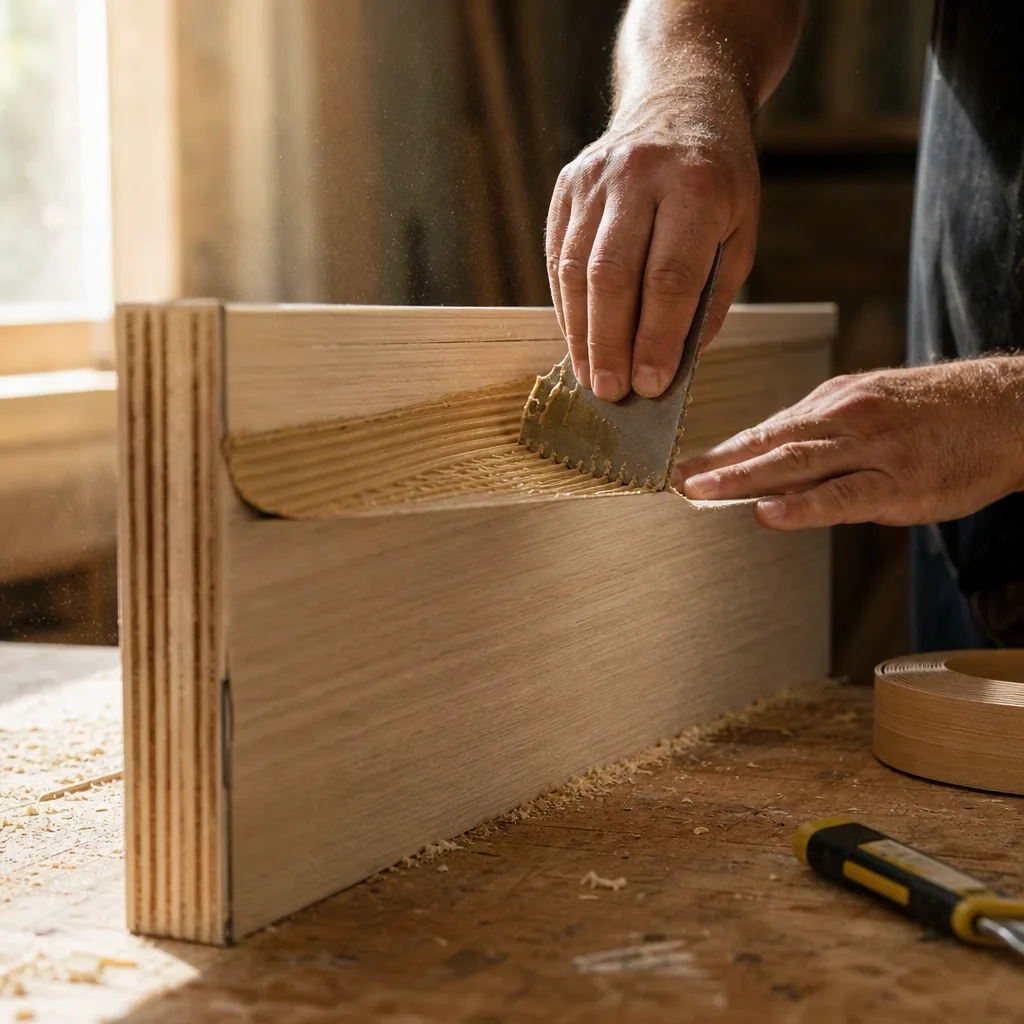
Refacing keeps your cabinet boxes right where they are. You get new doors and drawer fronts, and the face frames and exposed sides get a new veneer or matching skin. New hinges and pulls usually come with it. Your layout stays the same, so refacing only works if you already like where everything is.
Before you count on refacing, check your boxes. That matters here because St. Augustine’s damp air is hard on particleboard, and a box that looks fine from the front can be failing inside. Open your cabinets and look for these signs:
- A sink base floor that’s swollen, soft, or stained from past leaks
- Edges that crumble or bulge where the laminate has peeled back
- Shelves that sag in the middle or pins that won’t hold
- Cabinet frames that have pulled away from the wall or each other
- A musty smell that comes back even after you clean
One soft sink base doesn’t rule out refacing. That single box can often be replaced while the rest get new faces. But if several boxes show swelling, new doors won’t fix the problem underneath. You’d be putting fresh fronts on boxes that keep breaking down.
Cost works differently for each path. Refacing cost mostly depends on how many doors and drawer fronts you have, the door material, and whether any boxes need replacing. Semi-custom cost climbs with each size change, upgraded finish, and storage insert you add. Custom cost depends on the materials, how complex the room is, and how many special pieces the design calls for. When you compare quotes, ask what’s included, including removal of old cabinets, end panels, crown molding, hardware, and repairs to walls or floors.
Think about what else you’re changing, too. If new countertops, a new sink spot, or moved appliances are part of a full kitchen remodeling project, refacing can box you in. Your old cabinet footprint will decide where everything goes. Countertops are a good example. If you replace them over refaced boxes, you’re putting new stone on old cabinets. That’s fine if the boxes are solid and risky if they’re not.
Here’s a simple way to sort it out. If the boxes are sound and the layout works, reface. If the layout mostly works but you need a few better sizes, look at semi-custom. If the room itself fights standard sizes, that’s when built-to-order cabinets earn their cost.
That same focus carries through the practical kitchen remodeling guidance our team provides to local families.
Choose Materials That Hold Up in Coastal Humidity
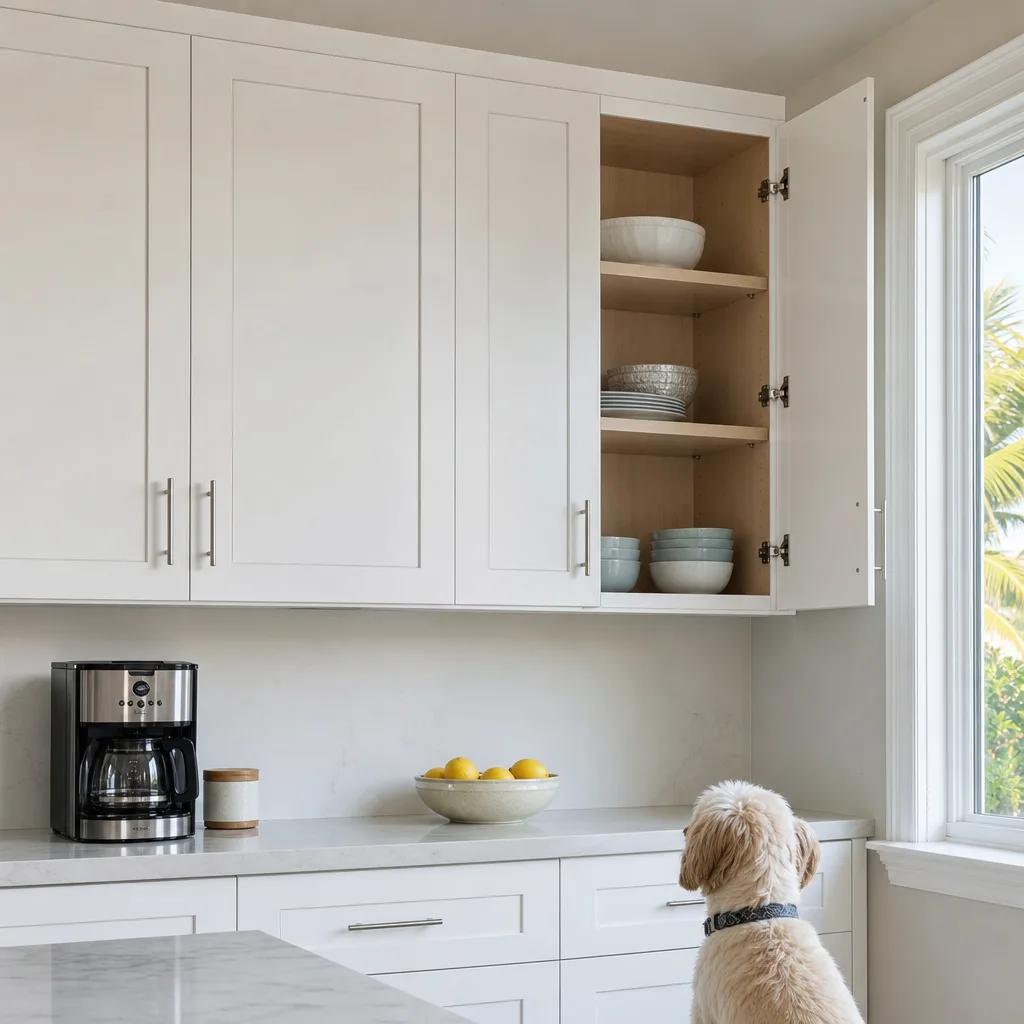
With built-to-order cabinets, you get to choose what they’re made of. In a damp coastal town like St. Augustine, that choice decides whether your kitchen still looks right in fifteen years. The goal is simple: pick materials that don’t swell, warp, or rust when the air stays wet for months.
Start with the boxes. You already know particleboard has a hard time here. Plywood is the safer pick for most boxes because its glued layers resist swelling and hold screws well. It matters most at the sink base, where a small leak can sit for weeks before you spot it. Some people go a step further and use a moisture-resistant panel or a sealed bottom just for the sink cabinet. A drip tray under the sink is a cheap add that protects the box floor.
Doors need a different kind of thinking. Solid wood grows and shrinks a little as the humidity changes. A well-made five-piece door handles this with a center panel that floats in its frame, so it can move without cracking the joints. Painted doors are a different story. A solid wood panel can show a thin line of bare wood at the edges when it shrinks in drier months. That’s why many painted kitchens use MDF center panels or full MDF doors. MDF stays flat and holds paint smoothly. Its weak spot is raw, unsealed edges, so the finish has to cover every surface.
The finish is your first line of defense. Ask how it’s applied and where. Here’s what to look for:
- Every face is sealed, including the backs of doors, the cut edges, and the undersides of shelves, not just the parts you see.
- The finish is a durable sprayed coat made for kitchens, not a thin wipe-on layer.
- The sink base and the cabinets beside the dishwasher get extra attention, since steam and splashes hit them hardest.
- Raw edges on any panel get sealed before install, including places that will hide behind trim.
Don’t forget the hardware. Salt air can work its way inland, and cheap hinges and drawer slides may rust or get stiff over time. Ask for hinges and slides with a corrosion-resistant finish. Soft-close parts are worth it too, because a gentle close puts less strain on doors that have shifted slightly with the seasons.
How the cabinets go in counts as much as what they’re made of. Solid wood parts do better when they’ve had time to settle into your home’s air before install. Cabinets fastened tight against a damp outside wall can trap moisture behind them, so ask how the backs are protected. After install, running your AC or a dehumidifier during the muggiest months helps every material on this list last longer.
None of these upgrades is flashy. You won’t notice a sealed shelf edge or a plywood sink floor on day one. You’ll notice them years later, when your doors still close flush and the cabinet under the sink is still firm. That staying power is the real payoff of building cabinets to fit your kitchen and your climate.
Follow the Design-to-Installation Process
A custom cabinet project moves through clear stages, and each one builds on the last. If you know what each step is for, you’ll know when to ask questions and when to sign off. Most of your input comes early. Once the boxes are built, changes get slow and costly.
Here’s how a well-run project usually unfolds:
- Measure the room. Every wall, window, outlet, vent, and pipe gets measured in place. A good measure also checks whether walls are plumb and floors are level, because built-to-order boxes are sized around those real numbers and not the ones on old house plans.
- Plan the layout. This is where you talk about how you cook, what you store, and who uses the kitchen. Bring your list of pain points, like the corner you can’t reach or the drawer that’s never deep enough.
- Review the drawings. You should see a floor plan and wall views that show every cabinet, its size, and what goes inside it. Check door swings, drawer clearance near appliances, and where the trash pull-out lands.
- Pick materials and finishes. This is when the box, door, finish, and hardware choices covered above get locked in. Ask to see real samples in your own kitchen light.
- Approve and build. After you sign off on the final drawings, the cabinets are built to those exact sizes. Treat the approval like a contract, because it works like one.
- Prep the site. The old cabinets come out, and any wall, floor, plumbing, or electrical work gets done before the new boxes arrive.
- Install. Cabinets get set level, shimmed where floors dip, scribed to fit wavy walls, and screwed into studs. Fillers and trim are cut on site for a tight fit.
- Template and set countertops. Stone counters are measured after the cabinets are fixed in place, since even a small shift changes the fit. Our kitchen countertop installation page covers that step.
- Adjust and walk through. Doors get lined up, drawers get tuned, and you go over everything together with a punch list.
The design stage is where projects go right or wrong. A missed outlet or a fridge that’s an inch wider than planned is easy to fix on paper. Once the boxes are built, the same mistake can mean rebuilding a cabinet. Before you approve the drawings, have the exact model numbers for your range, fridge, dishwasher, and sink on hand. Appliance sizes vary more than most people think.
Timing depends on the size of your kitchen, how complex the design is, and how long your materials take to arrive. Ask for a schedule that shows each stage. Also ask when your kitchen will be out of use, so you can plan meals and set up a temporary spot for your microwave and coffee maker.
Take your time on that final walkthrough. Open every door and pull out every drawer. Doors should sit even with matching gaps, drawers should glide shut, and nothing should rub. Small tweaks after a few weeks are normal as everything settles into your home.
Check Permit Requirements Before You Build
Swapping old cabinets for new ones in the same spots often doesn’t need a permit by itself. The permit question comes up when the cabinet plan changes what’s behind the walls or under the floor. Because built-to-order cabinets are often part of a new layout, it’s smart to sort this out before you approve the final drawings.
Here’s the kind of work that usually needs a permit and an inspection:
- Moving the sink, which means new drain and supply lines
- Moving the range, especially if it runs on gas
- Adding outlets, circuits, or under-cabinet lighting that’s wired into the wall
- Putting an island where it needs power or plumbing run through the floor
- Taking out or opening up a wall, or changing anything structural
- Adding or moving a window, or changing a range hood vent that goes outside
If your plan keeps the sink, range, and fridge where they are and you’re only changing the boxes and doors, the permit side may be simple. If the plan moves even one of those, expect at least one trade permit.
Where you live decides which office you deal with. A St. Augustine mailing address doesn’t always mean you’re inside city limits. Many homes with that address sit in unincorporated St. Johns County, and the city and the county each run their own permit process. Check which one covers your property before anyone files. If you’re in a neighborhood with a homeowners association, read its rules too. Some HOAs want notice before contractors work on site, even for indoor projects.
Ask early who’s pulling the permits. It’s usually the licensed plumber, electrician, or general contractor doing that part of the work. Be careful if anyone suggests you pull them yourself as the owner. That can make you the responsible party if something fails inspection.
Inspections shape your schedule more than most people expect. New wiring and plumbing usually get a rough-in inspection while the walls and floor are still open. Your cabinets can’t go in until that inspection passes, so a delay there pushes back install day. When you ask for a project schedule, make sure inspection dates are on it.
Older homes can bring surprises once the old cabinets come out. You might find outdated wiring, a corroded drain, or soft subfloor under the sink. Some of those fixes need their own permit. Leave a little room in your budget and your timeline for what turns up behind the old boxes.
A clear plan avoids most permit headaches. Once your drawings show where every sink, outlet, and appliance goes, it’s easy to tell which trades are involved and what needs a permit.
Frequently Asked Questions
It depends on your kitchen’s size, how complex the design is, and how long your chosen materials take to arrive. A simple layout with in-stock materials moves faster than a kitchen with an island, custom storage inserts, or special-order finishes. Ask for a schedule that lists each stage, including the rough-in inspection if plumbing or wiring is moving, so you know exactly when your kitchen will be out of use.
Not fully, since the old cabinets have to come out before new boxes go in. Plan a temporary spot for your microwave and coffee maker before the project starts. Site prep, including any plumbing or electrical work, happens before the new cabinets arrive, so ask upfront how many days your kitchen will be unusable.
Bring the exact model numbers for your range, fridge, dishwasher, and sink. Appliance sizes vary more than most people expect, and a fridge that’s an inch wider than planned is a quick fix on paper but can mean rebuilding a cabinet once the boxes are built. Having those numbers ready before you approve final drawings keeps the project on schedule.
Sometimes, especially in older homes once the original cabinets come out. You might find outdated wiring, a corroded drain line, or soft subfloor under the sink that needs its own repair and permit. Leaving some room in your budget and timeline for what turns up behind old boxes keeps a surprise from derailing the whole project.