
Kitchen Countertop Installation in St. Augustine: What to Decide Before You Call
Signs You Need Countertop Replacement, Not a Repair
Let’s start with the honest part. A counter that looks tired doesn’t always need to go. If your problem is on the surface, a repair is often the smarter money.
These problems can usually be repaired:
- A small chip on a stone edge or corner, which can often be filled and polished to blend in.
- Dull or etched spots on granite or marble, which may come back with polishing and fresh sealer.
- A laminate edge strip that’s lifting, as long as the board under it is still dry and firm.
- Scratches or light burns on butcher block, which you can sand out and oil again.
If that sounds like your kitchen, you probably don’t need new countertops yet. Fix it and get a few more years out of what you have.
Replacement is the better call when the damage goes past the surface. Watch for these signs:
- Swelling or bubbling in laminate near the sink or dishwasher. The board under laminate soaks up water and puffs up, and it doesn’t shrink back once it dries.
- A crack that runs all the way through a stone slab, or one that keeps getting longer. This can mean the support under the counter isn’t right.
- Seams that have pulled apart or no longer sit level, so crumbs and water collect in the gap.
- An undermount sink that’s sagging or pulling away, or a cutout edge that has gone soft or crumbly.
- Stains in porous stone that come back every time, even after cleaning and resealing.
- A layout change. If you’re moving the sink, adding a kitchen island, or putting in new cabinets, counters cut for the old layout almost never fit the new one.
Water damage deserves a closer look in St. Augustine. Air near the coast stays humid for much of the year, so a counter that takes on water around the sink doesn’t get much chance to dry out. Small leaks and daily splashing can keep working into the core for a long time before you see anything on top.
Here’s a quick check you can do today. Press on the counter right beside your sink and dishwasher. Does it feel soft or spongy, or is there a raised bump you can feel with your fingers? Then open the cabinet under the sink and look up at the bottom of the counter. Dark stains, swollen edges, flaking material, or a musty smell all point to water that’s already gotten inside.
If you find damage, check the cabinet box too. New countertops need a solid, level base to sit on. If the cabinets under them are swollen or rotted, those need attention first. Otherwise you’d be setting a brand new counter on a base that’s already failing, and the same problems would show up again.
How the Installation Process Works, Start to Finish
A kitchen countertop installation isn’t one visit. It’s a few steps spread over days or weeks, and each one depends on the step before it. Once you know the order, you’ll know why timing matters and what you can do to keep things moving.
Step 1 is picking your material and slab. Stone like granite and quartzite varies from slab to slab, so it’s worth seeing the actual piece before it’s cut. Quartz and laminate look more uniform, so a sample usually tells you what you’ll get. This is also when you choose your sink, faucet, and edge style, because the cutouts and edges get made to match them.
Step 2 is measuring and templating. Someone makes an exact template of your cabinet tops, down to fractions of an inch. This only works if the cabinets are already in place, level, and fixed to the wall. If you’re replacing cabinets too, the counters get measured after the new boxes go in, not before. That’s also why a soft or swollen base, the kind covered above, has to be fixed first. A template taken off a failing cabinet is wrong from day one.
Step 3 is fabrication. The slab gets cut to the template, the edges get shaped and polished, and the sink and cooktop openings get cut out. Your kitchen still works during this stretch, since your old counters stay in place until install day.
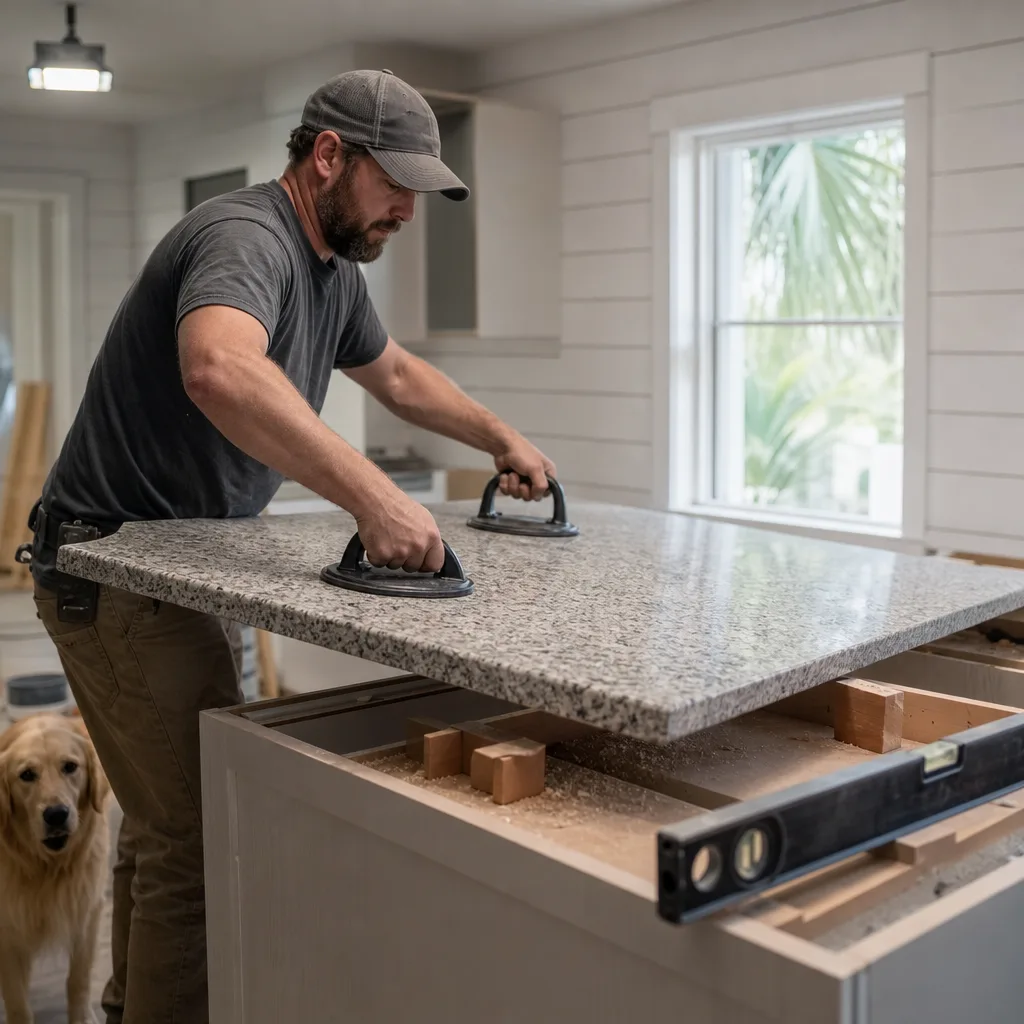
Step 4 is removal and install day. Here’s what usually happens, in order:
- The water is shut off, and the sink, faucet, and any built-in cooktop are disconnected.
- The old countertops are pulled off, and the cabinet tops are checked to make sure they’re level.
- The new pieces are set in place and adjusted so seams line up flat and tight.
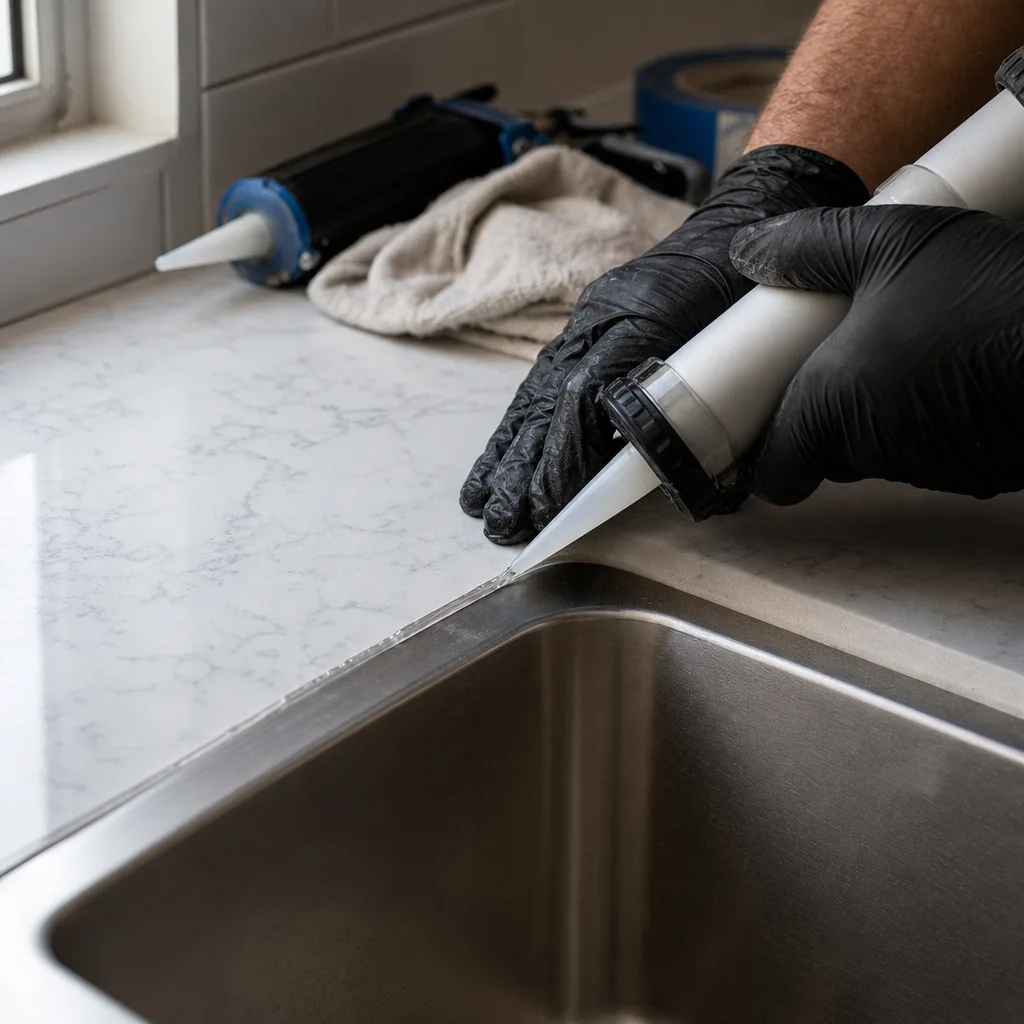
- Seams are joined and filled, and an undermount sink is attached under the counter.
- Stone surfaces that need it get sealed.
- The sink, faucet, and appliances are hooked back up, or left ready for your plumber.
Seams and sink joints use adhesives and sealants that need time to set. With St. Augustine’s damp air, it’s smart to follow the cure time you’re given before you run water or lean on a seam. Using the sink too soon is one of the easiest ways to weaken a joint that just went in.
Here’s how to get ready for install day:
- Clear everything off the counters, plus the cabinet under the sink.
- Empty the upper cabinets right above the counters, since work below can shake loose dishes.
- Make a clear path from your door to the kitchen for heavy slabs.
- Keep kids and pets out of the area. There’s lifting, cutting, and dust.
If your new counters are part of a full kitchen remodeling project, they’re one of the last big pieces to go in. Cabinets, any layout changes, and plumbing or electrical moves all need to be done first so the template matches the finished kitchen. Getting that order right is what lets a new counter sit flat, seal tight, and last.
That same focus carries through the practical kitchen remodeling guidance our team provides to local families.
What Drives Countertop Installation Cost
There’s no single price for new countertops, because no two kitchens are the same size or shape. Most quotes start with a cost per square foot for the material and fabrication, then add line items for everything else that goes into the job. Once you know what those pieces are, a quote stops looking like a mystery number, and you can tell right away if something’s missing.
These are the biggest things that move the total:
- The material. Laminate usually costs the least. Quartz, granite, and quartzite cost more, and rare stone colors or thick slabs cost more still.
- How much counter you have. More square footage means more material and more cutting. An island counts too, and a big one may need its own slab.
- The shape of your layout. A straight run is simple. L-shapes, U-shapes, angled corners, and long overhangs take more cutting, more seams, and sometimes extra support underneath.
- Seams. Every seam takes time to line up flat and fill. Fewer seams can mean buying a bigger slab, which costs more up front but often looks cleaner.
- Cutouts. Each opening for a sink, cooktop, or faucet hole adds labor. An undermount sink costs more than a drop-in because the cut edge has to be polished.
- Edge style. A plain eased edge is the basic choice. Fancier shapes like an ogee or bullnose take longer to make, and the price goes up for every foot of edge.
- Backsplash. A short strip of matching stone or a full-height backsplash adds material and labor.
Then there’s the work that doesn’t show up in the slab itself. Removing and hauling away your old countertops is often a separate charge. So is disconnecting and hooking back up the sink, faucet, and cooktop. If the cabinet boxes need repair or leveling, like the water damage covered earlier, that adds cost too, but it’s money well spent. Paying to fix a weak base now is cheaper than paying for a cracked slab later.
Here’s a simple example. Two neighbors both want quartz. One has a straight wall of counters with a drop-in sink. The other has an L-shaped kitchen, an island, an undermount sink, and a full backsplash. Same material, very different totals. That’s why a price you saw online, or a friend’s number, won’t tell you much about your own kitchen.
Before you pick anyone, ask these questions so you can compare quotes fairly:
- Is the price per square foot, or a total for the whole job?
- Does it include templating, fabrication, and install, or are those billed apart?
- Are sink and cooktop cutouts and edge work included?
- Who removes and hauls away the old counters, and is that extra?
- Who reconnects the plumbing and appliances?
- What happens to the price if the cabinets turn out to need repair?
A low quote that leaves out removal, cutouts, or plumbing can end up costing more than a higher quote that covers everything. The clearest way to know your real number is to have your kitchen measured and get every item spelled out in writing.
Choosing a Local Installer You Can Verify
Great countertops can still fail if the wrong person puts them in. The slab is only as good as the template, the base under it, and the care taken on install day. So before you sign anything, check the person, not just the price. You don’t have to take anyone’s word for it, including ours. Here’s what you can verify yourself.
Start with the paperwork. Ask every installer for these things, and look them over before work starts:
- Proof of license. Ask which license they hold for this kind of work, then look it up with the state yourself. It only takes a few minutes online.
- Proof of insurance. Ask for a current certificate of liability insurance. A heavy stone slab dropped in your kitchen, or a cracked tile floor, is a real risk.
- A written scope of work. Every item from the quote questions above should be spelled out on paper, not just promised out loud.
- A clear answer on permits. If your job moves plumbing, gas, or wiring, ask whether a permit is needed and who pulls it.
Next, ask who’s doing the work. Some companies measure, cut, and install with their own people. Others pass parts of the job to someone else. Either can work, but you should know who’s coming into your home and who’s on the hook if a seam lifts or a cutout is off.
Then ask how they handle surprises. Pulling off old counters is when hidden water damage tends to show up, especially near the sink. A good installer will tell you up front what happens if the cabinet base is soft or out of level. Will they stop and show you? Will they fix it, or tell you to call someone? You want that answer before the old counters come off, not after.
A few red flags are worth walking away from:
- They won’t come out to measure, or they want to quote a complex layout from a phone photo.
- They push you to sign today or ask for a big cash payment before anything is ordered.
- They can’t tell you how long seams and sink joints need to cure in our humid air.
- They skip over the cabinets and say any base will do.
It also helps to pick someone you can find. A real local address means there’s a place to go if you have a question after the job is done. Our shop is at 5020 Scaff Rd in St. Augustine, so you know exactly where we are.
Last, trust how the conversation feels. A good installer asks about your sink, your cabinets, and how you use your kitchen before talking price. If someone looks under your sink and presses on the counter near the dishwasher, that’s a good sign. They’re checking the same things you checked earlier, because they know the counter is only as solid as what’s under it.
Pairing Countertop Installation With a Larger Kitchen Project
New countertops can be a stand-alone job, or one piece of a bigger change. The right choice comes down to one question. Will anything under or around the counter change in the next few years? If the answer is yes, it usually pays to do it all at once. If the answer is no, counters alone are just fine.
Let’s start with when you don’t need a bigger project. If your cabinets are solid, dry, and level, and you like where the sink and stove sit, just replace the counters. Don’t let anyone talk you into new cabinets because they’d look nice with new stone. A good counter on good cabinets is a complete job. You can always change the cabinet doors or hardware later without touching the counters at all.
Pairing makes sense when you’d otherwise be paying twice. Counters get cut to fit the cabinets under them, as covered above. So if you swap cabinets, move a sink, or add an island a year after new counters go in, those counters often have to come off. Stone doesn’t always survive being pulled up, and an old cutout won’t line up with a new layout. You end up buying the same counter two times.
Here are the most common projects that go hand in hand with new countertops:
- Kitchen cabinet installation. If your cabinet boxes are swollen near the sink or just worn out, replacing them first gives your new counters a clean, level base.
- Custom kitchen cabinet construction. Odd corners, tall ceilings, or a tight galley can call for cabinets built to size, and the counters follow those exact lines.
- Kitchen island addition. An island adds workspace and seating, and its top can be cut from the same slab or a matching one so it all ties together.
- Kitchen expansion. Pushing out a wall or opening up a room changes every counter run, so the counters belong at the end of that plan.
- Kitchen design. If you’re not sure what you want yet, planning the layout first keeps you from picking a counter that doesn’t suit the finished room.
- Outdoor kitchen remodel. Outdoor counters sit in sun, rain, and St. Augustine’s damp air all year, so the material and the base under it matter even more than they do inside.
Here’s a simple way to think about it. Say your counters are cracked and you’ve also been meaning to add an island someday. If someday is close, plan both now. You’ll make one set of choices, live through one round of dust, and get counters that match. If the island is a far-off maybe, replace the counters you have and leave room in your budget for later.
A bigger project also gives you more say over seams and slab use. When the whole kitchen is planned at once, the pieces can be laid out across the slabs so the pattern flows and seams land in less noticeable spots. Doing it piece by piece makes that much harder to match.
If you’re on the fence, be honest about your plans. Tell your installer what you might change down the road, even if it’s not in this budget. That way your counters fit the kitchen you’ll have, not just the one you have today.
Frequently Asked Questions
Install day itself usually wraps up in a single day, but the full job spans days or weeks when you count templating and fabrication first. Your cabinets get measured only after they’re set in place and level, then the slab is cut and polished before installers ever touch your old counters. Plan your kitchen downtime around that whole stretch, not just the removal and install step.
Yes, your old countertops stay in place during fabrication, so your sink and stove keep working. The slab gets cut, edges get shaped, and sink or cooktop openings get cut out while your kitchen runs as normal. Removal and install only happen on the one day your new pieces are ready to go in.
Clear everything off your counters and out from under the sink before the crew arrives. Empty the upper cabinets too, since work below can shake dishes loose, and keep a clear path from your door to the kitchen for carrying slabs. Keep kids and pets out of the work area since there’s cutting, lifting, and dust involved.
Yes, in most cases, because counters are cut to match the exact cabinet layout underneath them. If you change the sink location or add an island later, the old cutouts and seams won’t line up with the new setup. If you’re even considering a layout change in the next few years, it’s worth planning it alongside your countertop installation instead of paying for two separate jobs.