
Outdoor Kitchen Remodel in St. Augustine: Full Build or Just a Counter?
Decide Between a Full Remodel and a Component Replacement
Most people start by looking at what bugs them. The grill won’t light right. The stainless doors are rusting. The tile on the counter has cracked. Those are real problems, but they don’t decide the job on their own. What decides it is what’s underneath.
Think of your outdoor kitchen in two layers. The top layer is the stuff you touch: appliances, doors, drawers, and the countertop. The bottom layer holds it all up and feeds it: the frame or block base, the slab it sits on, and the gas, water, and power lines. When the bottom layer is solid, you can change the top layer piece by piece. When the bottom layer is the problem, new parts on top won’t fix it.
A component replacement usually fits when:
- The base is straight, dry, and doesn’t flex or crumble when you press on it.
- Only one or two parts have worn out, like a grill burner or a set of access doors.
- The new appliance fits the same cutout, or close enough to trim without rebuilding.
- You still like where everything sits and how you move around while cooking.
A full remodel usually makes more sense when:
- The base has rot, rust, cracks, or soft spots, or it’s pulling away from the slab.
- You want to add a sink, fridge, or side burner and there’s no line run for it.
- The gas or electric setup is old, patched together, or doesn’t match what new equipment needs.
- The layout leaves you walking back and forth, with no prep space next to the grill.
- Several parts are failing at once, so you’d be replacing most of it anyway.
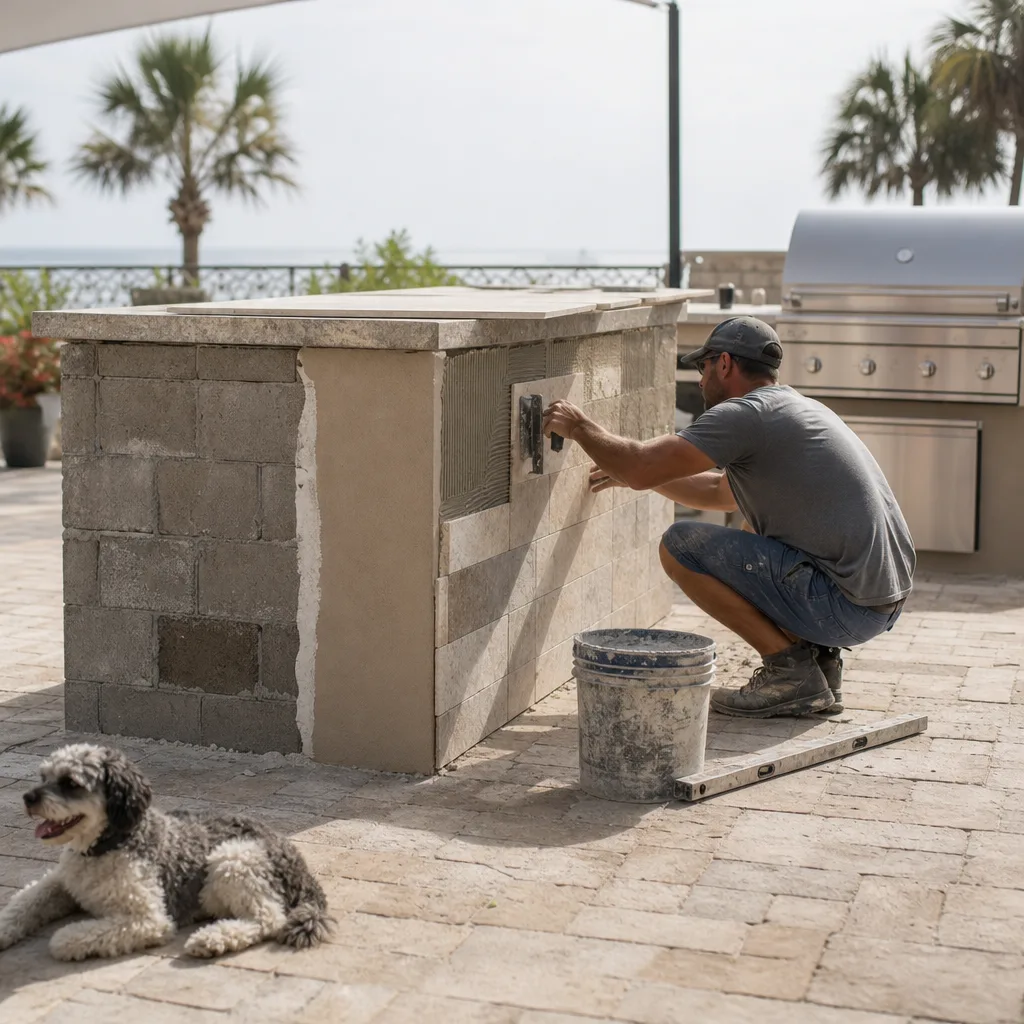
Here’s a common spot people find themselves in. The grill dies, so they shop for a new one. Then they find out the new grill is a different size than the old cutout. To make it fit, the counter has to come off. Once it’s off, they can see the frame underneath has rusted through. A simple swap just turned into a rebuild. Check the base before you buy anything, so you know which path you’re on from the start.
Living near the coast in St. Augustine adds one more thing to think about. Salt air and damp summers are hard on metal frames, fasteners, and cheap hardware. If your outdoor kitchen was built with materials that weren’t meant for that kind of weather, replacing a door or two only buys time. In that case, rebuilding with materials that hold up outdoors is often the cheaper choice over the long run.
Don’t let anyone talk you into a full tear-out if the bones are good. And don’t sink money into new parts on a base that’s already giving out. Get the structure checked first, and the right answer usually becomes clear.
Outdoor Cabinet Materials Matter in a Humid Climate
The cabinets are where most outdoor kitchens fail first, so pick a material that doesn’t mind being wet. In St. Augustine, your cabinets sit in damp air most of the year. They get hit by summer storms and dry out under hard sun, then it starts over. A material that soaks up water, holds it, or rusts won’t last, no matter how nice it looked in the showroom.
Indoor cabinets are made for a room with steady air and a roof overhead. Outdoors, the rules change. Many people plan their outdoor space the way they’d plan an indoor kitchen remodeling project. They pick a door style and a color, then they wonder why the boxes swell and the hinges bleed rust stains down the front after two summers.
Here’s how the common outdoor cabinet materials hold up in humid weather:
- Marine-grade polymer: This is a solid plastic sheet made for boats. Water can’t soak into it, it won’t rot, and bugs leave it alone. It’s one of the safest picks for a damp yard with no roof over the kitchen.
- Stainless steel: It’s strong and looks sharp, but the grade matters. Lower grades can show rust spots near the coast. Higher grades hold up much better. Cheap screws and hinges can still rust even on good stainless boxes.
- Powder-coated aluminum: It’s light, it doesn’t rust the way steel does, and it comes in lots of colors. The coating needs to stay intact. A deep scratch can let moisture in at that spot.
- Masonry with a stucco or tile finish: Block bases with closed-in storage hold up well to rain. They’re heavy, though, and hard to change later, so get the layout right first.
- Wood: Some dense outdoor woods can work with steady upkeep. Standard plywood and MDF cabinets made for indoor use don’t belong outside here. They’ll swell, peel, and grow mold.
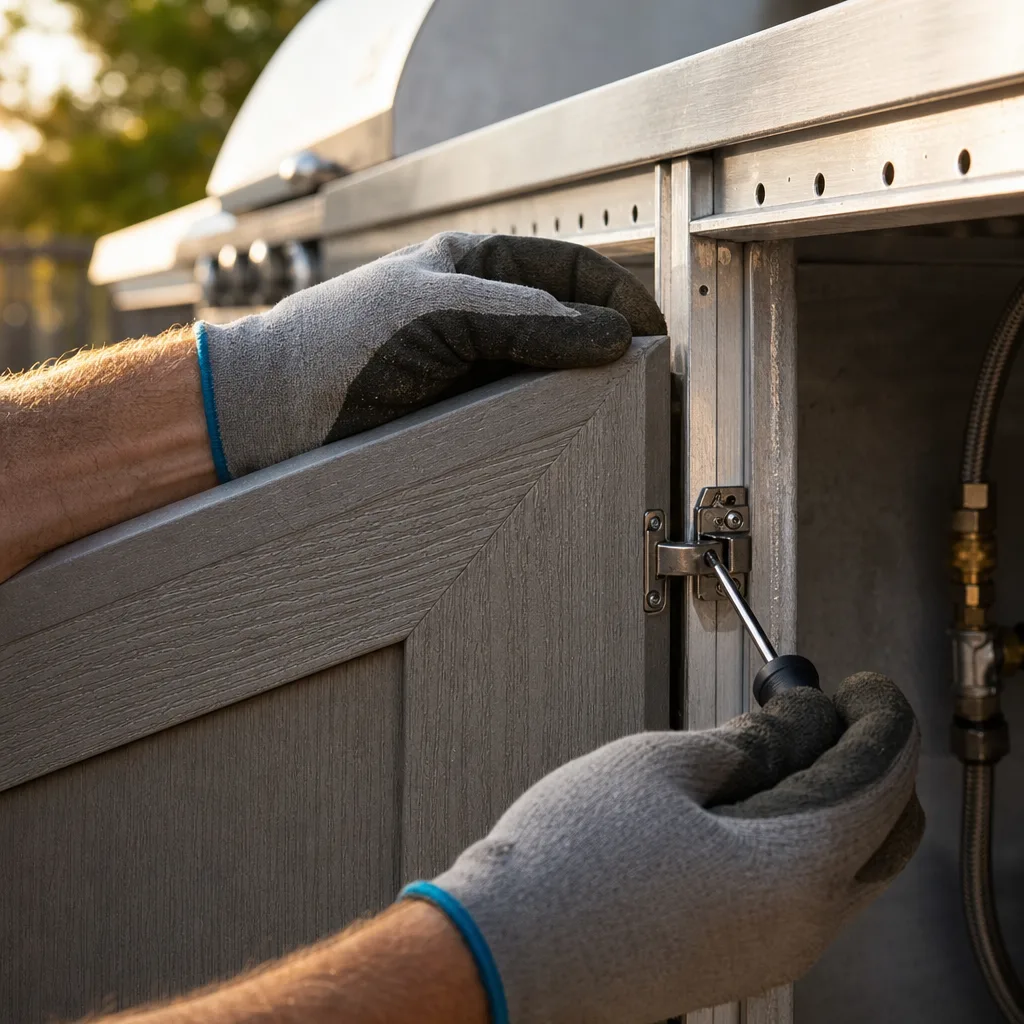
The box is only part of the story. Hinges, drawer slides, handles, and screws are often where you see trouble first. If the hardware isn’t rated for outdoor use, it can rust, stick, or stain the doors around it. Ask what the hardware is made of, not just the cabinet.
Airflow matters too. A closed cabinet in humid weather can trap moist air, and that’s how you get mildew on whatever you store inside. Small vents, a gap at the base so water can drain, and a slight lift off the slab all help the inside dry out after a storm. If your patio floods in heavy rain, keep the cabinet bottoms up off the ground.
Sun is the other half of the problem. Some materials fade or turn chalky under strong UV, and dark colors can get hot to the touch. If your kitchen faces west with no shade, lean toward lighter colors and finishes made to handle direct sun.
Our services include kitchen cabinet design and custom kitchen cabinet construction. When we plan an outdoor kitchen, the first question we ask about cabinets is how they’ll handle water, salt, and sun. The style comes after that. Choose for the weather first, then pick the look you love from the materials that can take it.
That same focus carries through the practical kitchen remodeling guidance our team provides to local families.
What a Full Outdoor Kitchen Remodel Includes
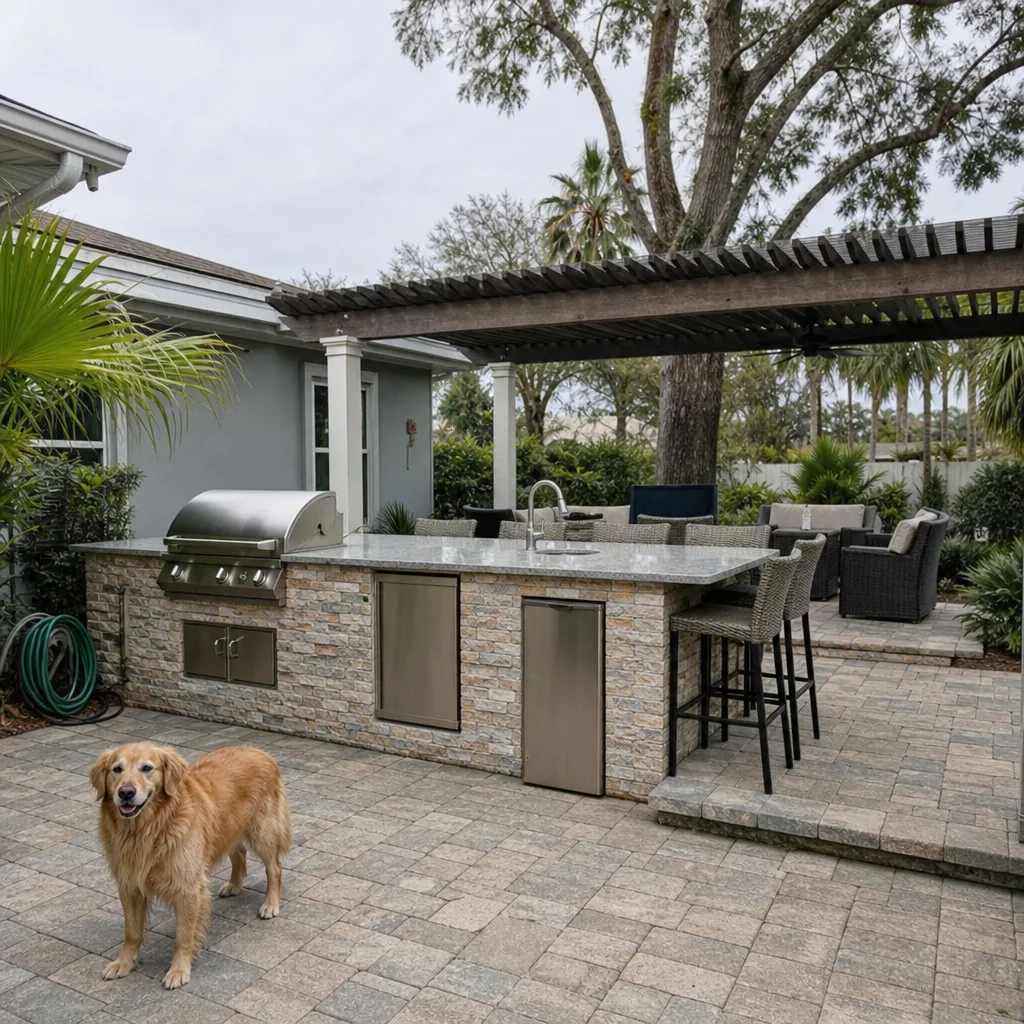
A full remodel rebuilds both layers of your outdoor kitchen: the structure underneath and the parts you touch. It’s more than new appliances in an old shell. Here’s what’s usually part of the job, in roughly the order it happens.
- Tear-out and site check: The old island, counters, and appliances come out. Once the base is gone, you can see the slab and the lines that fed it. Hidden rot, rust, or cracked concrete shows up here, not before.
- Slab or footing work: A finished outdoor kitchen is heavy, especially with stone or block. If the slab is cracked, sinking, or sloped toward the house, it gets fixed or extended before anything goes on top.
- Gas, water, drain, and power: This is where a remodel earns its keep. New lines get run to where the grill, sink, fridge, and outlets will sit. Outdoor wiring and outlets need to be rated for wet spots, and a sink needs a real drain, not just a hose.
- Permits and inspections: Gas lines, new electric circuits, and plumbing usually need a permit. Which office handles it depends on whether your home is inside St. Augustine city limits or in unincorporated St. Johns County, so check your address early.
- The base and cabinets: The frame or block base goes up, then the cabinets and storage built from the weather-ready materials covered above.
- Countertop: Measured after the base is set, so it fits tight. Outdoors, it needs to handle sun, heat from the grill, and standing rain without staining or cracking.
- Appliances: The grill, side burner, fridge, or sink go into cutouts sized for them, with the right gaps for airflow and heat.
- Cover, lighting, and finish: Many full remodels add or update a roof, pergola, or fan, plus task lighting over the grill and prep area. Stucco, tile, or stone goes on last.
Notice that the fun parts come late. The grill and the counter you picked out are near the end of the list. Most of the work, and most of what decides how long the kitchen lasts, happens before you’d ever see it from your back door. That’s why a quote that only lists appliances and finishes isn’t really a full remodel quote.
Our team installs kitchen countertops and builds kitchen island additions. Those skills carry outside, where an island is the heart of most outdoor kitchens. The difference outdoors is that every piece has to be planned around rain, heat, and salt air, not just looks.
When you compare quotes, line them up against this list. Ask each contractor what happens if they find a bad slab or rusted frame during tear-out, and who pulls the permits for gas and electric. Ask whether utility runs are included or priced separately. If a step is missing, ask why. Sometimes it’s not needed for your yard. Other times it’s been left out to make the number look smaller, and it shows up later as a change order.
A good full remodel should leave you with a kitchen that works the way you cook, sits on a solid base, and has lines sized for anything you might add later. If you’re thinking about a sink or fridge down the road, run the lines now while the ground is open. It costs far less than cutting back into a finished patio.
Permits and Utility Work for Outdoor Kitchens
If your remodel touches gas, power, or plumbing, plan on a permit and an inspection. New counters, cabinets, or a drop-in grill on an existing line often don’t need one. New lines almost always do. This is the part of the job you can’t see when it’s done, and it’s the part that matters most for safety.
Here’s the utility work that usually needs a permit:
- Gas: Running a new natural gas line from the house or meter, or making a longer run than the old one. A propane tank swap on a portable grill is different from a fixed line feeding a built-in grill and side burner.
- Electric: Adding a new circuit for a fridge, lights, a fan, or outlets. Outdoor outlets near a sink or grill need protection that cuts power fast if water gets in.
- Plumbing: Adding a sink with a real drain, or tying a water line into the house supply.
Each of these is usually handled by a licensed trade, like a gas contractor, electrician, or plumber. Inspections tend to happen in two rounds. The first comes while trenches are open and lines are exposed. The second comes once everything’s hooked up. That first round is why timing matters. If a trench gets filled or a base gets built before the inspector sees the lines, it can mean digging back up.
Gas line size is one thing people don’t think about. A line that ran one small grill may not carry enough gas for a bigger grill plus a side burner and a pizza oven. The result is weak flames when everything’s on at once. The line should be sized for everything you plan to run, not just what you’re buying today.
Before any digging starts, buried lines in the yard need to be located. Irrigation, cable, and the existing gas service often run right where an outdoor kitchen wants to go. In St. Augustine, sandy soil digs easily. That’s also why a shallow line can get nicked before anyone knows it’s there.
Your permit office depends on your address, as covered above. If you live in a community with an HOA, check its rules too. Many want to approve structures, roofs, and pergolas before work starts. That approval is separate from the building permit, and it can take a few weeks.
Questions to ask any contractor about this part of the job:
- Who pulls the permits, and whose name goes on them?
- Are permit fees and inspections included in the quote, or billed separately?
- Which licensed trades will run the gas, electric, and plumbing?
- What happens to the schedule if an inspection fails?
- Is the gas line sized for the full appliance list, including anything I might add later?
Be careful with any offer to skip the permit to save time or money. Unpermitted gas and electric work can cause trouble when you sell the house or file an insurance claim. Worse, nobody checked it before you started cooking on it. A permit adds a little time up front. In return, you know the lines feeding your kitchen were done right.
How Outdoor Kitchen Remodel Pricing Works
There’s no flat price for an outdoor kitchen remodel because no two yards start in the same place. The price comes from what has to be built underneath, what goes on top, and what the crew finds once the old kitchen comes out. If you know how a quote is put together, you can tell a fair one from one that’s just low.
Most quotes use one of these setups, or a mix of them:
- Fixed bid: One price for a clearly written scope. It’s easy to plan around, but only if the scope lists every step. Anything left out becomes extra later.
- Allowances: A set amount for things you haven’t picked yet, like the grill or the countertop slab. If you choose something that costs more, you pay the difference. If it costs less, you should get money back.
- Time and materials: You pay for hours worked plus supplies. This is more common for repairs or jobs where nobody can see the problem yet. It’s flexible, but it’s harder to predict the final total.
These are the things that move the number the most:
- Size and layout: A straight run along the house costs less than an L-shape or an island with seating on two sides.
- Base and cabinet material: Weather-ready materials like marine-grade polymer or higher-grade stainless cost more up front. In salt air, that extra cost is usually what keeps you from paying for the job twice.
- Countertop: Stone thickness, edge style, and how many cutouts it needs all add up.
- Appliance count: Each added piece, like a side burner, fridge, or sink, brings its own cutout, line, and labor.
- Utility runs: The farther the kitchen sits from your gas meter, panel, and water supply, the more trenching and line you pay for.
- Slab work and cover: Fixing a cracked slab or adding a roof or pergola can be a big share of the total.
- Tear-out and access: Removing a heavy block island takes time. A tight side yard where equipment can’t fit means more hand work.
Here’s where budgets usually slip. Say a quote looks great, then the old island comes out and the slab under it is cracked. That’s a change order, and it’s normal on remodels. What matters is how it gets handled. A good contractor tells you up front how surprises get priced and approved before any extra work starts. It’s smart to hold back some of your budget as a cushion for exactly this.
Before you sign, ask each contractor:
- Is the quote broken out by line item, or is it one lump sum?
- Which items are allowances, and how much is each one?
- How are change orders priced, and do I approve them in writing first?
- Are permits, inspections, and utility runs included?
- What’s the payment schedule, and what has to be done before each payment?
The cheapest quote often skips the base or the lines, and those are the parts that decide how long your kitchen lasts. Compare what’s included, not just the bottom number.
Frequently Asked Questions
A countertop installer who works with outdoor stone or solid surface material, not just any general contractor, is the right call for this. Measuring happens after your base is set, since outdoor counters need a tight fit to handle sun, grill heat, and standing rain without cracking or staining. If your grill box frame is still solid and dry, a counter swap alone can often work without touching the rest of the structure.
A full remodel moves through several stages: tear-out, slab or footing work, running gas and electric lines, permits and inspections, then cabinets, countertop, appliances, and finish work. Because inspections happen in rounds, with lines checked while trenches are still open and again once everything’s hooked up, the schedule depends on how fast permit approvals come back. Ask your contractor what the inspection timeline looks like before work starts, since that step can’t be rushed without risking a dig-back-up later.
Check your HOA rules separately from your building permit, since many communities want to approve structures, roofs, and pergolas before work begins. This approval is a different process from the permit your city or county office issues, and it can take a few weeks to clear. Start this check early, alongside confirming whether your address falls under St. Augustine city limits or unincorporated St. Johns County for permitting.